> ## Documentation Index
> Fetch the complete documentation index at: https://bunnynet-cb9733c2-fix-dd-mc-2035-volume-file-permissions.mintlify.site/llms.txt
> Use this file to discover all available pages before exploring further.
# Quickstart
> Install and configure the bunny.net WordPress plugin to speed up your website with CDN acceleration.
This guide walks you through installing and configuring the bunny.net WordPress plugin on your site.
## Prerequisites
* WordPress 6.7 or higher
* PHP 8.1 or higher
The plugin will not appear in the WordPress plugin directory on earlier versions of WordPress or PHP.
## Install the plugin
Log in to your WordPress admin panel. Click **Plugins** in the sidebar, then click **Add New Plugin**.
In the search box, type **BunnyCDN**. Find the BunnyCDN plugin in the results and click **Install Now**.
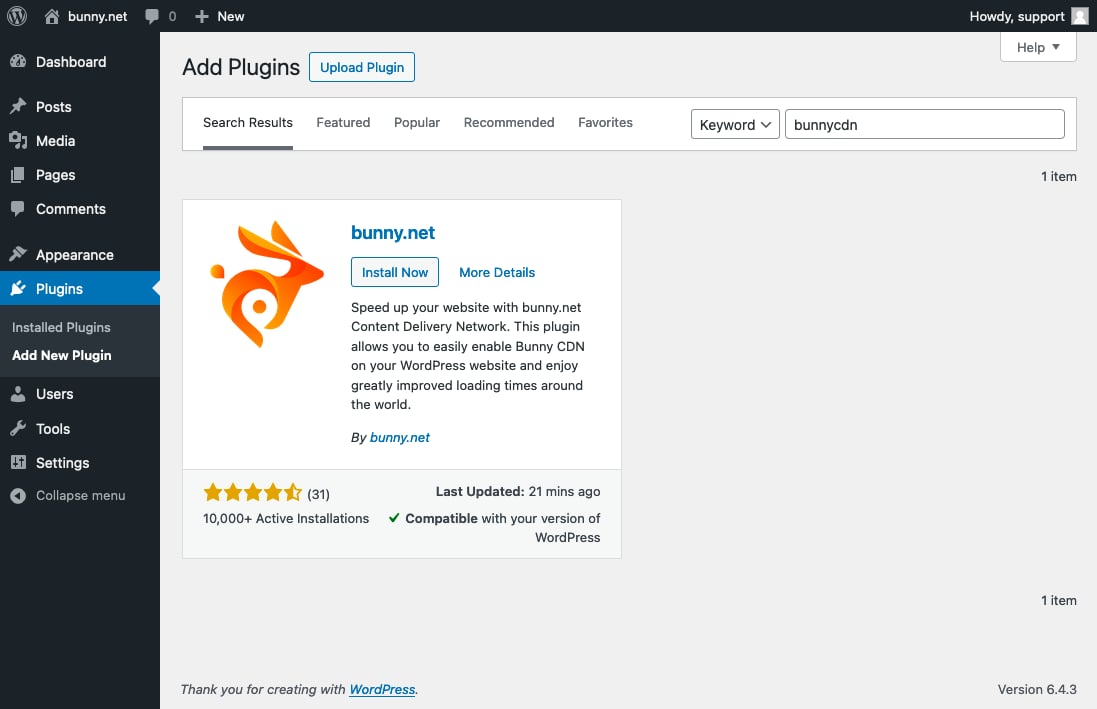 After installation completes, click **Activate**.
## Configure the plugin
In the WordPress sidebar, select **bunny.net** and click **Login / Create Account**.
After installation completes, click **Activate**.
## Configure the plugin
In the WordPress sidebar, select **bunny.net** and click **Login / Create Account**.
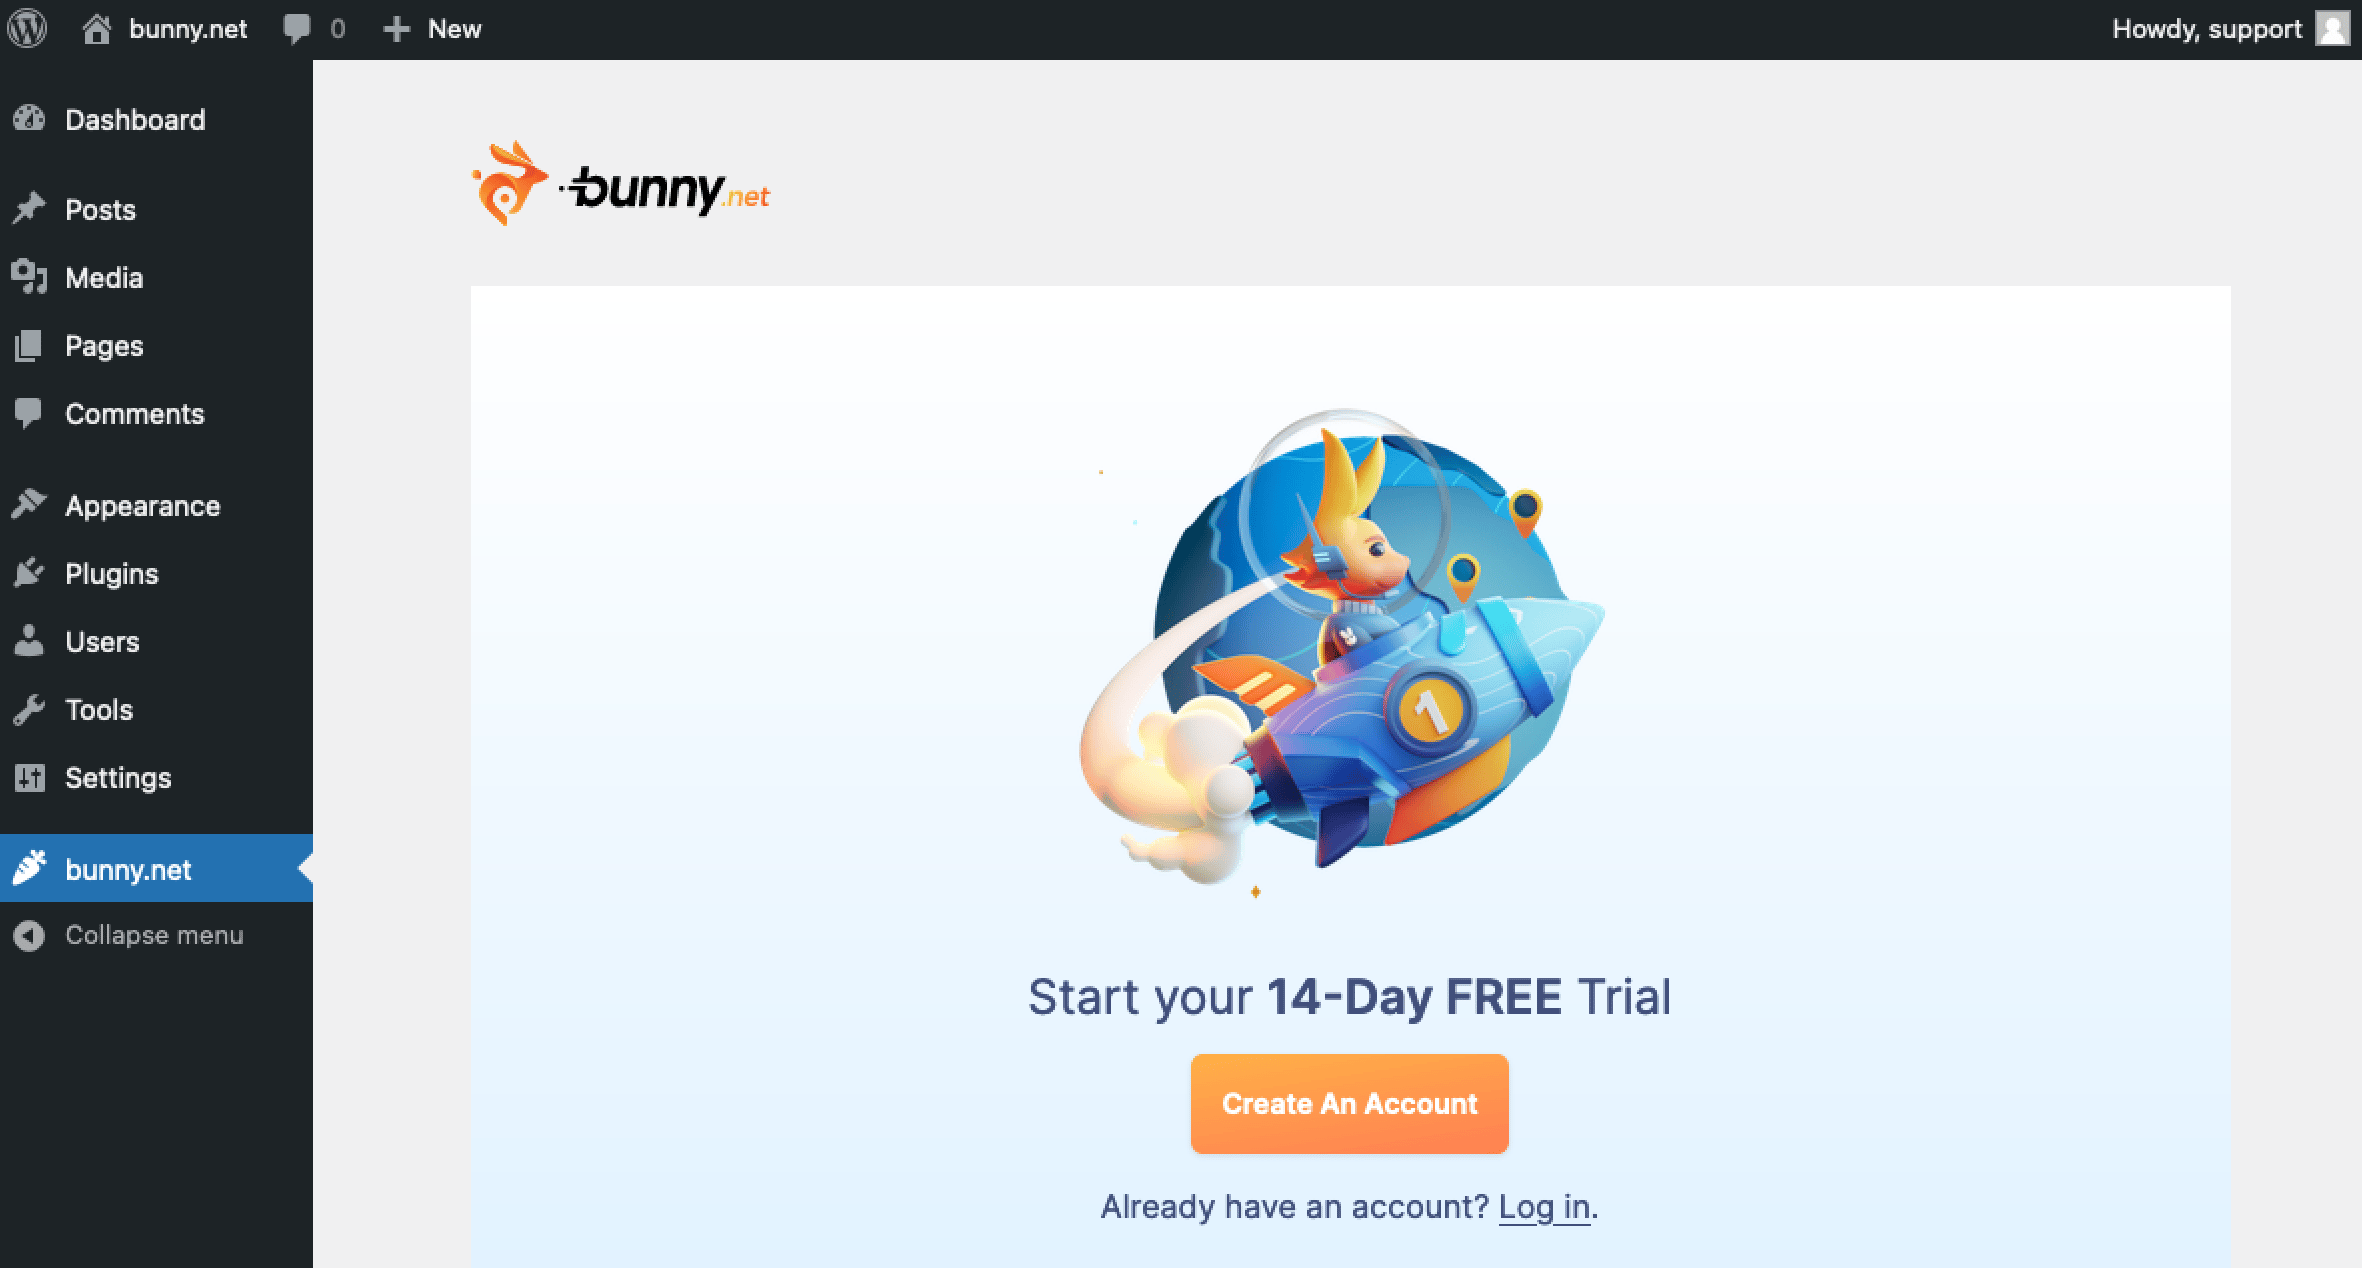 Create a new bunny.net account or log in with your existing credentials.
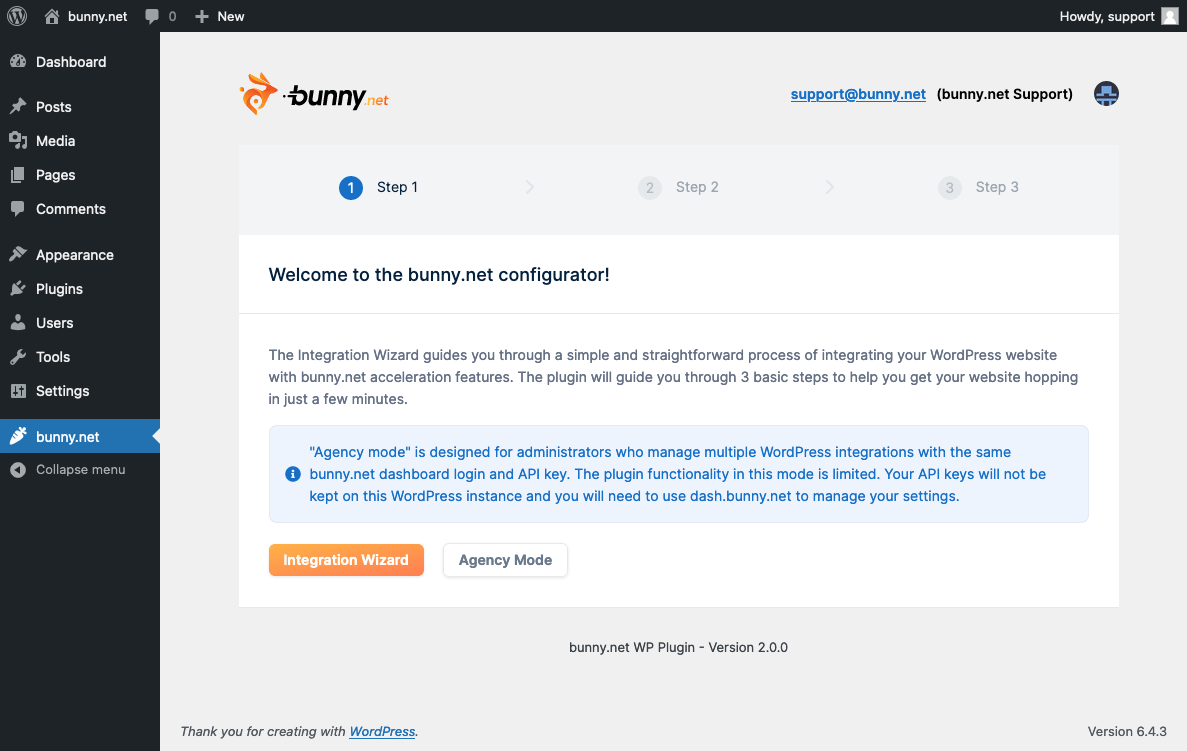
After logging in, select **Integration Wizard**.
Create a new bunny.net account or log in with your existing credentials.
After logging in, select **Integration Wizard**.
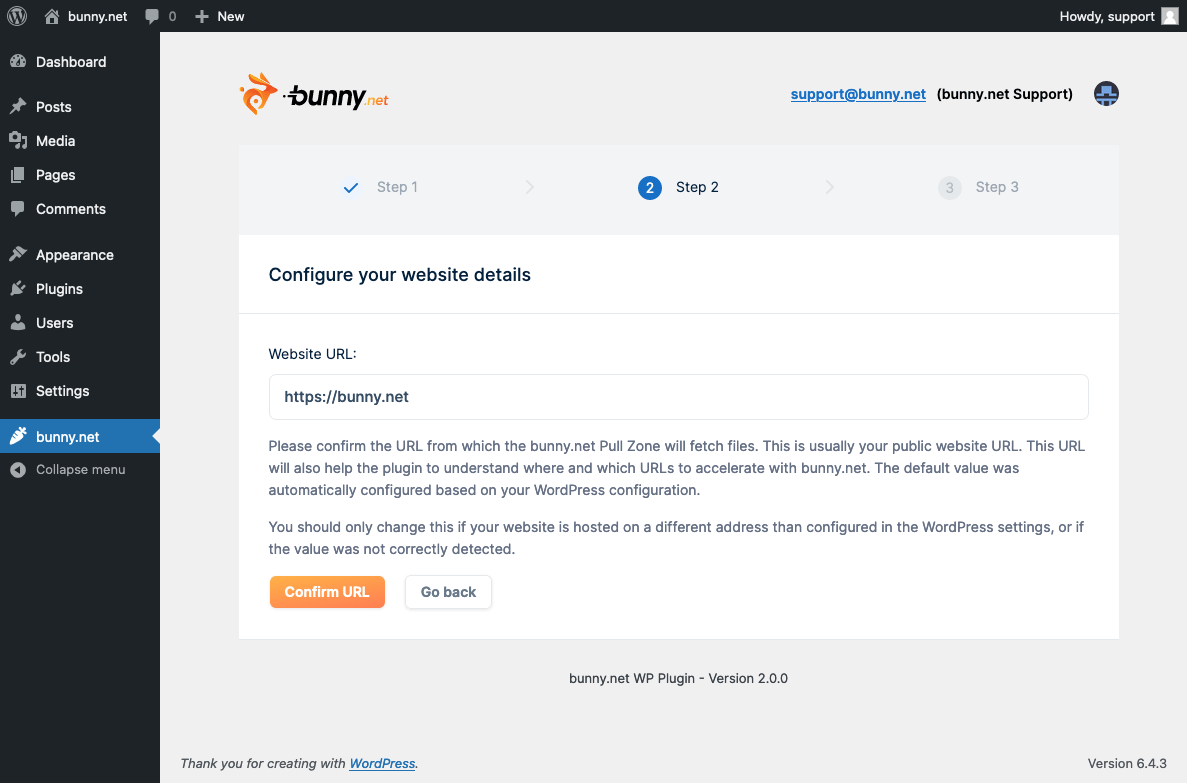
 Enter the URL of your WordPress website and click **Confirm URL**. The wizard uses this URL to configure your CDN integration.
 If your account already has a Pull Zone for this URL, you'll be prompted to use the existing one or create a new one.
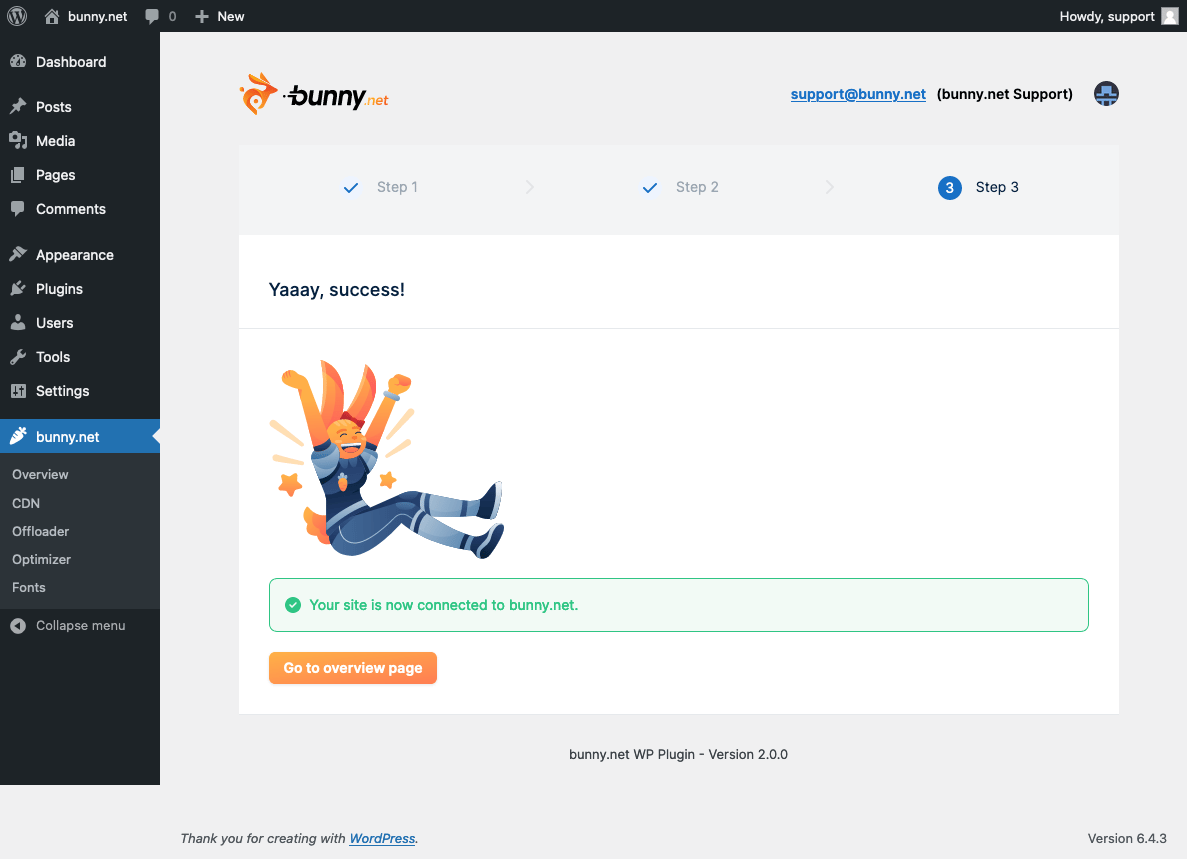 CDN acceleration is enabled by default once the setup completes. Your website will immediately start serving static assets through the CDN.